Fast Pitch® Installation

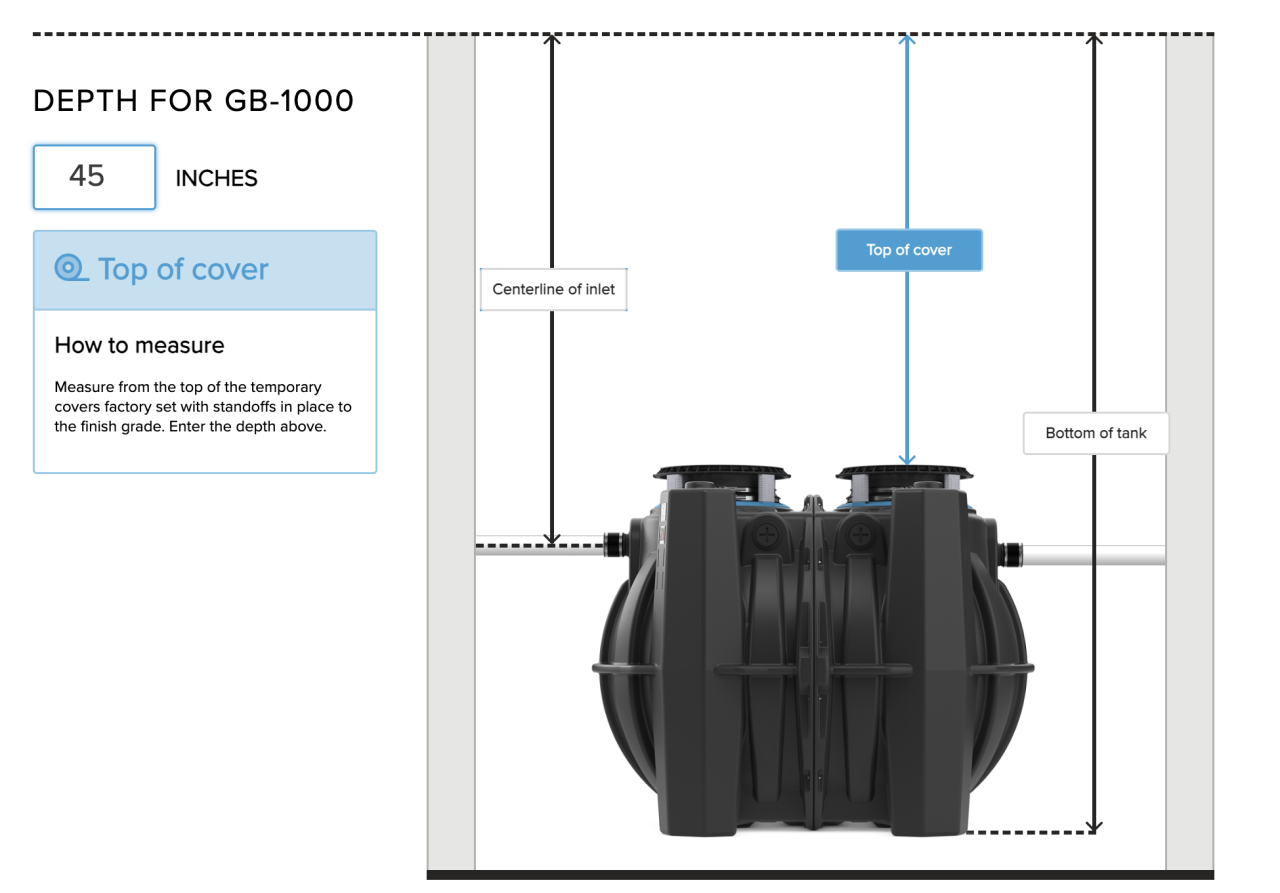
Determine riser quantity
Once your Schier tank is properly set and plumbed, determine quantity of risers needed to bring your cover and adapter to final grade.
1.
Remove Cover Adapter
Unlock the upper band clamp. Push down on the safety clip to release the handle.
Turn the cover adapter counterclockwise to remove it from the neck gasket and standoffs. Set the cover adapter aside in a clean area.
2.
Remove Standoffs
Remove the four standoffs from the tank ring by sliding them out of the channels.
3.
Remove neck gasket
Unlock the lower stainless steel band clamp and remove the neck gasket from the tank.
4.
Install riser section
Place the riser on the tank ring and align tabs on the riser into the slots on the tank ring by turning the riser clockwise until set firmly in place.
Ensure each riser gasket and the top of each riser is clean and free of debris.
5.
Add risers sections
Install additional risers and turn clockwise, ensuring they lock firmly into place.
6.
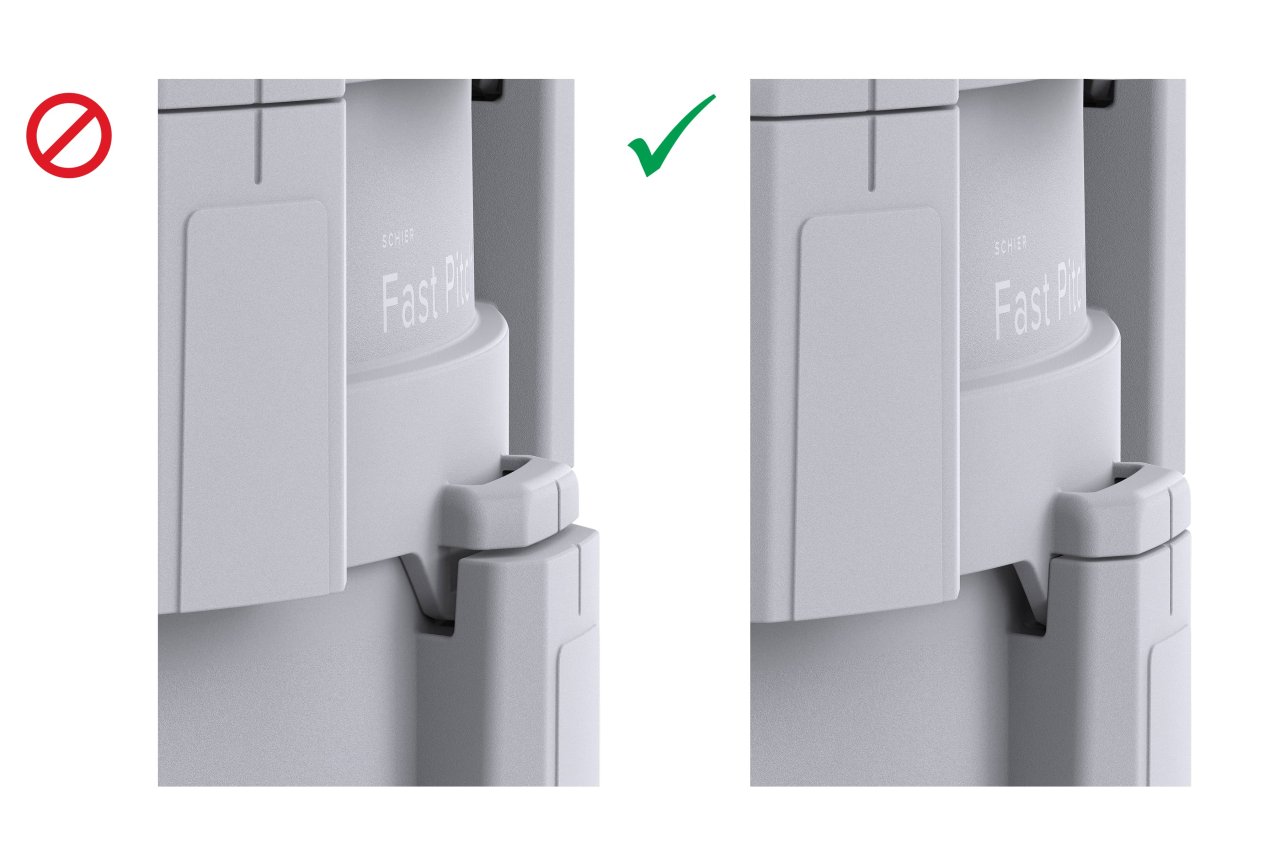
Check Locking Tabs
Ensure that all locking tabs are in alignment. If locking tabs are not fully engaged, push down and outward on the riser section until flush.
7.
Install neck gasket
Attach the neck gasket on top of the final riser. Ensure the neck gasket is fully and evenly seated on the riser.
Lock the lower band clamp. If the clamp is loose, unclasp the clamp, then hand-tighten the brass nut until the clamp can be firmly set. Do not overtighten the brass nut with tools.
8.
Install cover adapter
Insert the cover adapter into the neck gasket, ensuring the top will be flush with final grade (final elevation of the concrete pad or tile). Do not set the cover adapter below final grade.
9.
Adjust cover adapter
Adjust the height and angle of the cover adapter so the top aligns with the final grade. The cover adapter can be raised up to 5" and tilted up to 5° in any direction.
10.
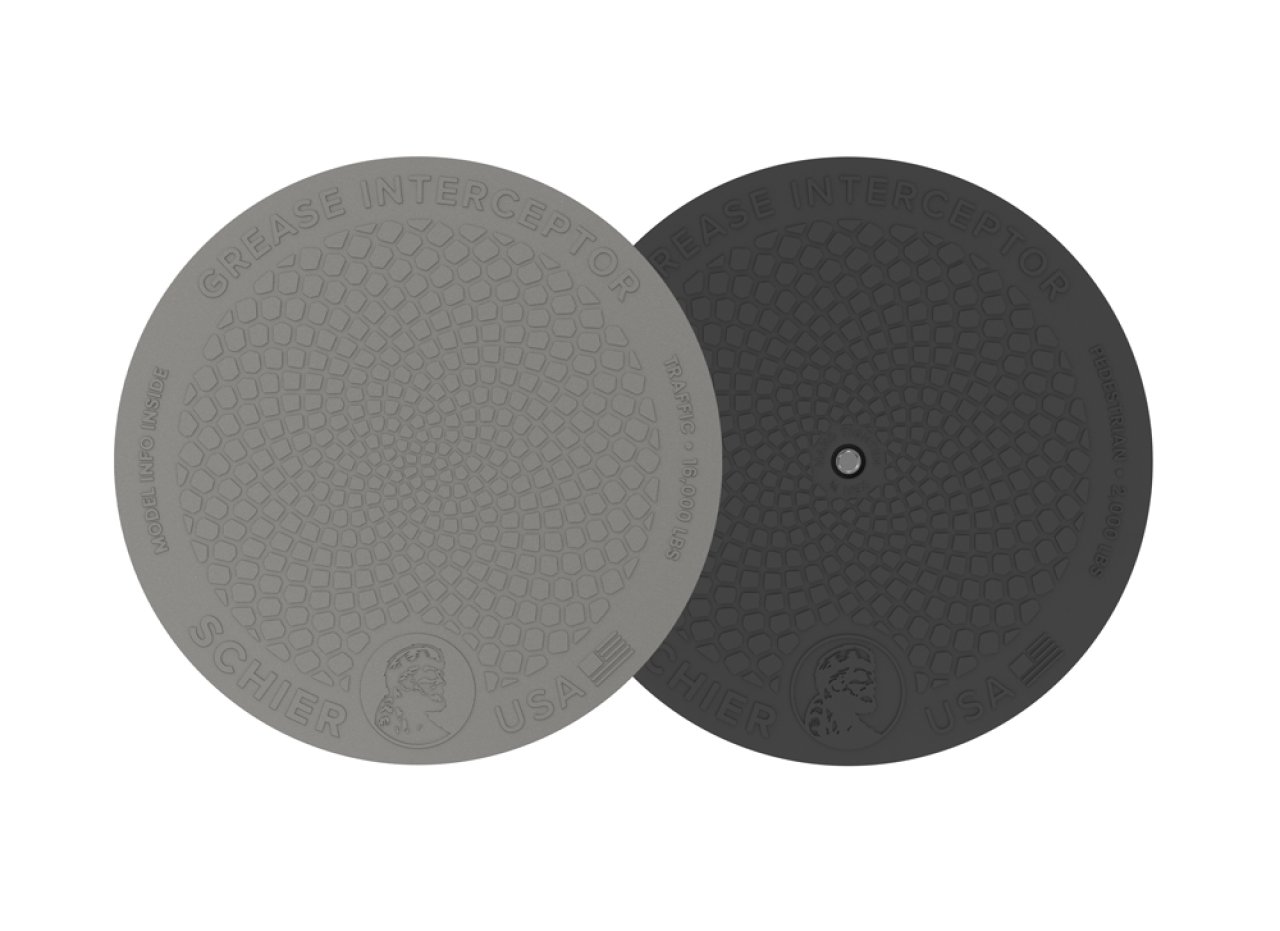
Replace temporary cover
Based on your installation requirements, replace the temporary cover with either the pedestrian cover (P24-GI) or the traffic cover (T24-GI).