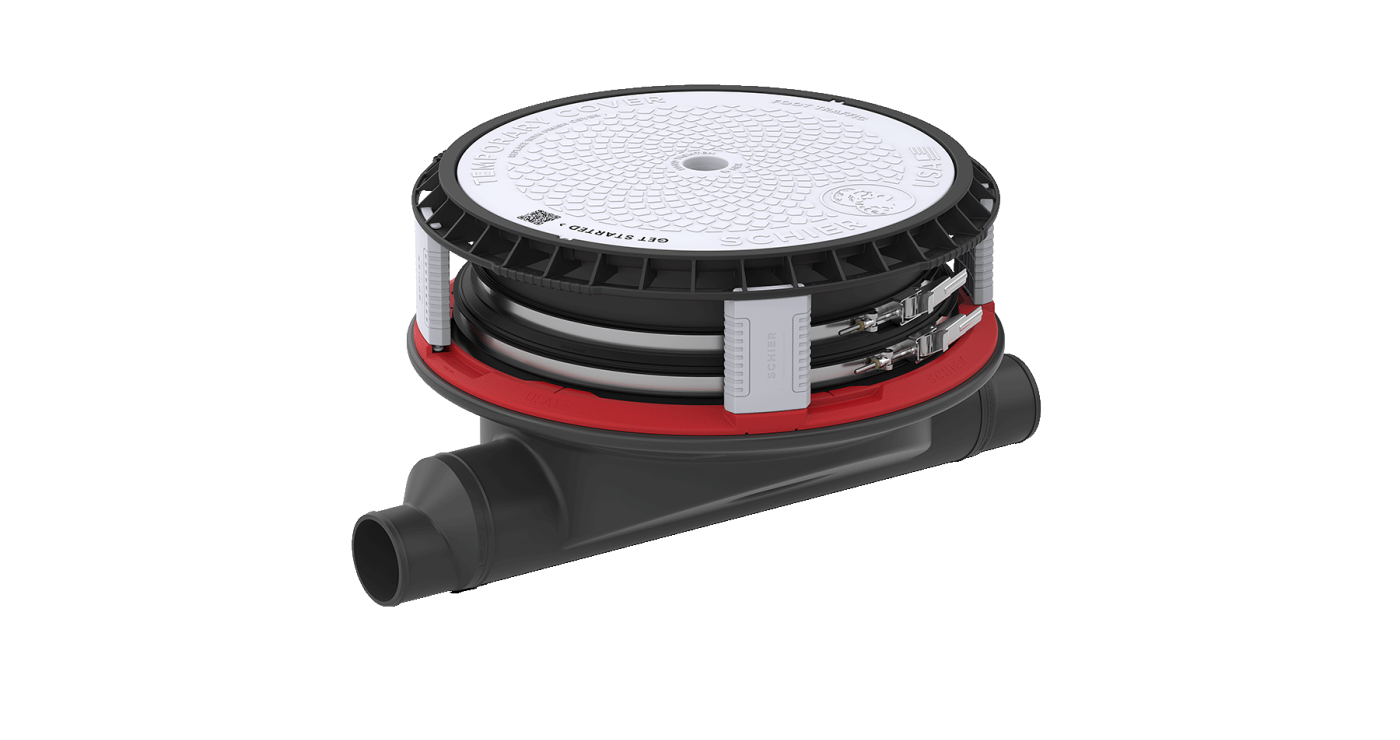
The tank comes with a temporary cover that needs to be replaced with finish cover after final installation. There are different cover types depending on project conditions:
Installation Tips
Here are a few tips for installing Schier products to ensure a professional installation. See Installation Guide at bottom of this page for detailed requirements.
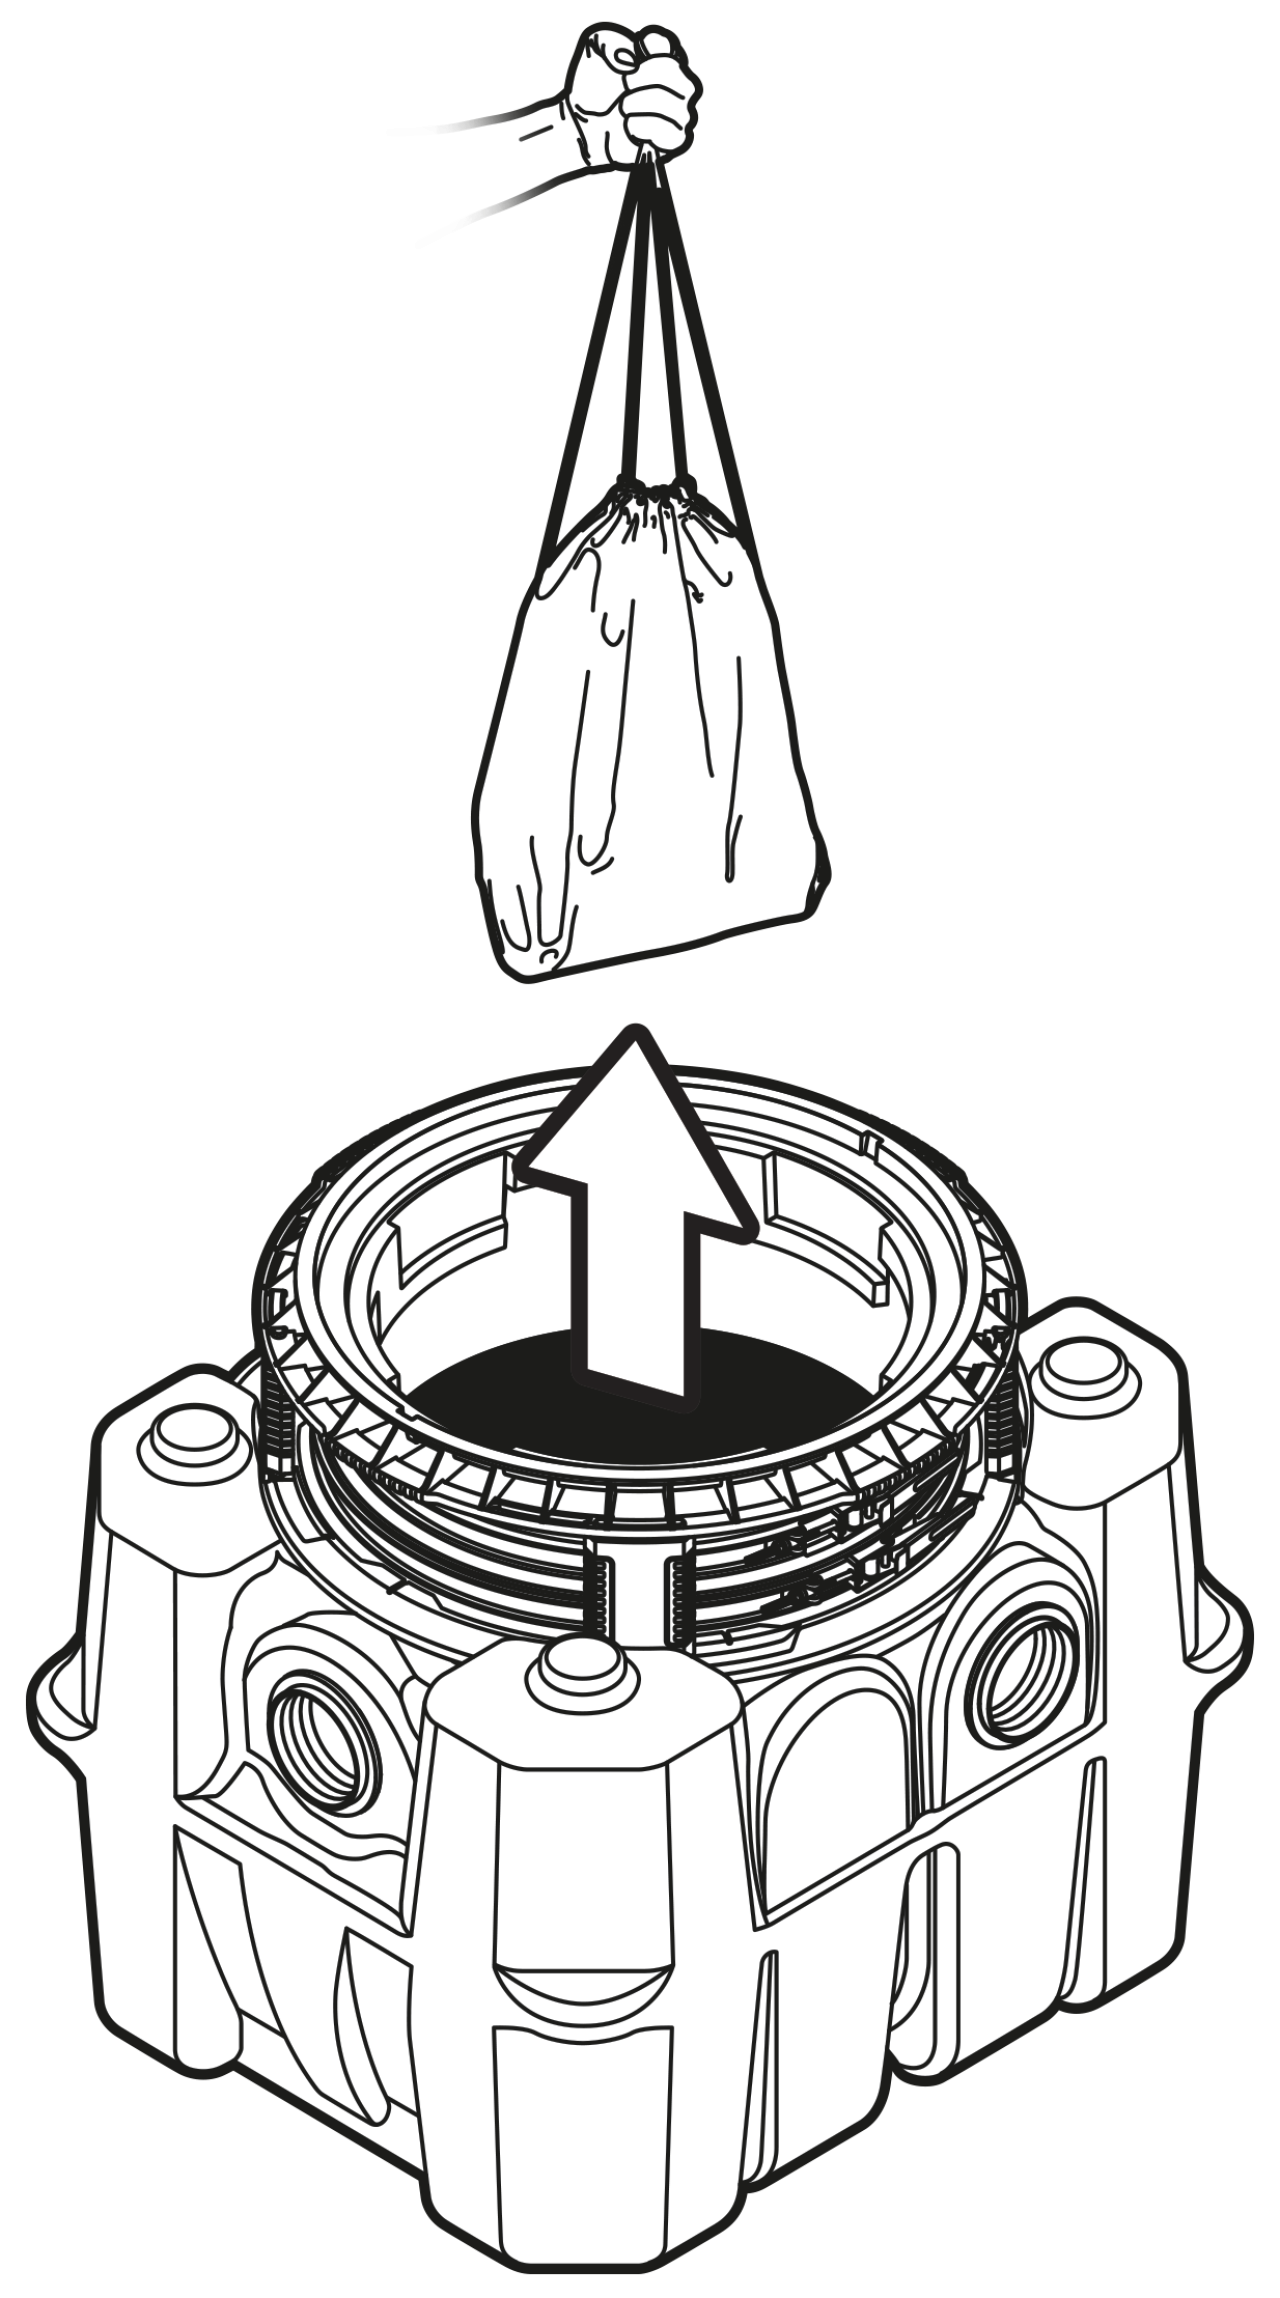
Remove Parts Bag
Each interceptor comes with a yellow parts bag inside the product containing additional connections and installation guide document. Remove this bag before use.
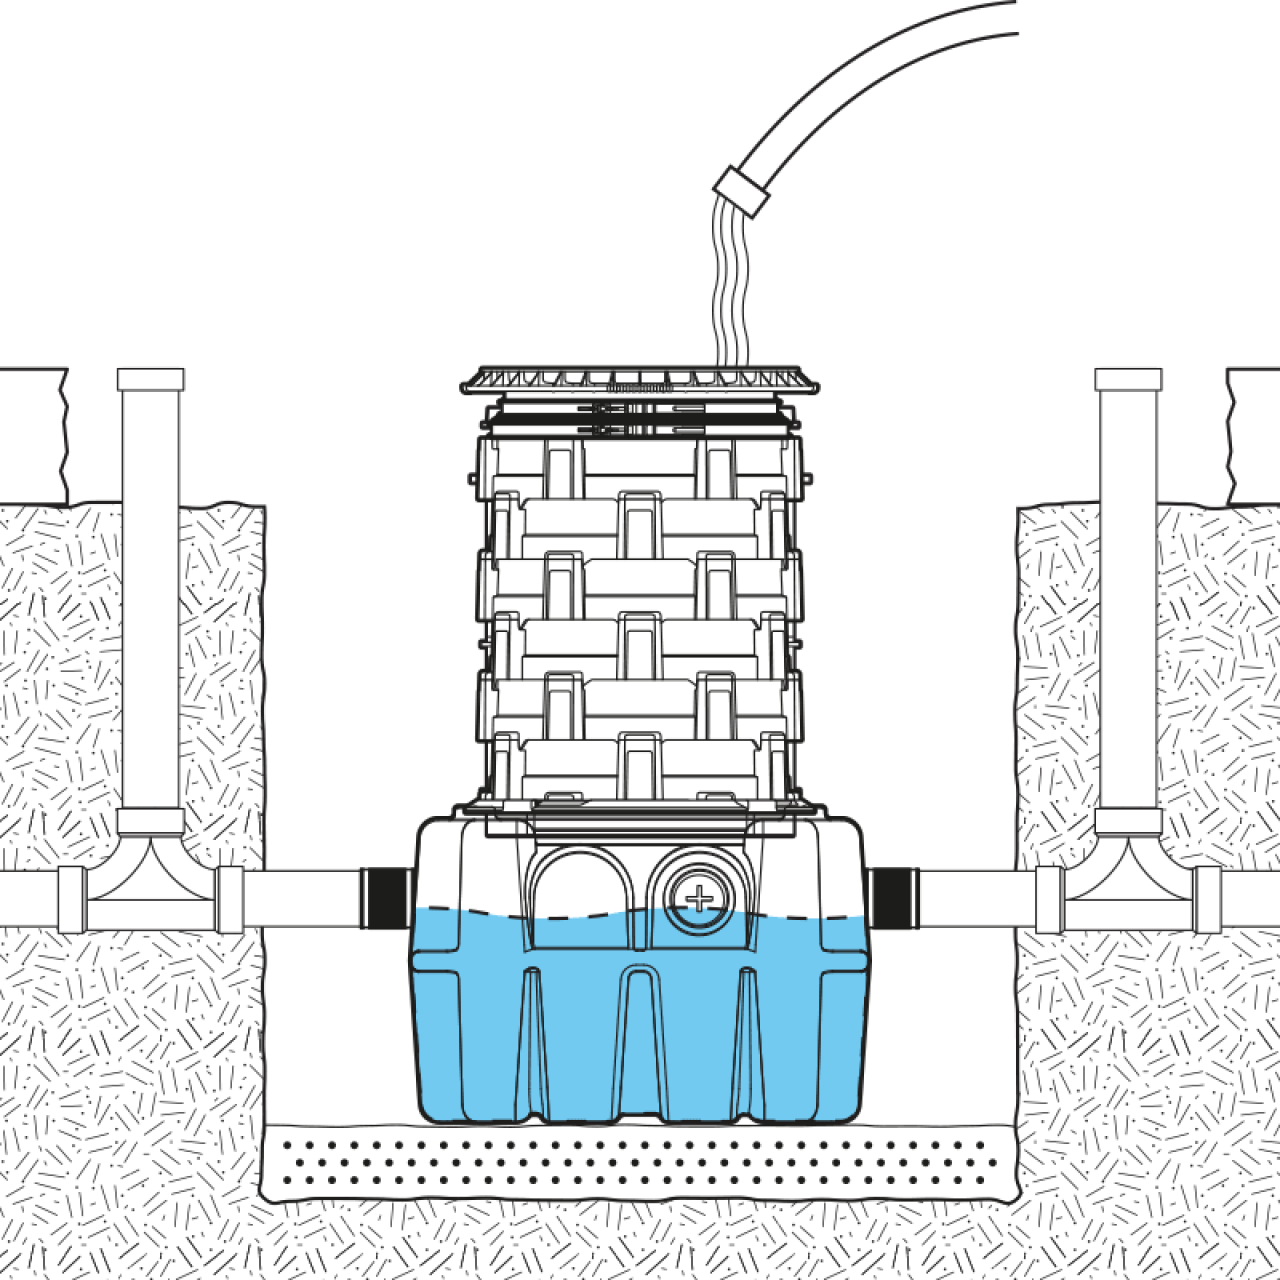
Check Seals Before Backfill
Cap all unused interceptor connections with the 4" cleanout plugs provided. Use pipe thread sealant or tape approved for use with plastic. Remove covers and fill the interceptor with water to above the highest connection. Inspect the interceptor body, connections and gaskets for leaks. Check the water level inside the interceptor at specific intervals per code.
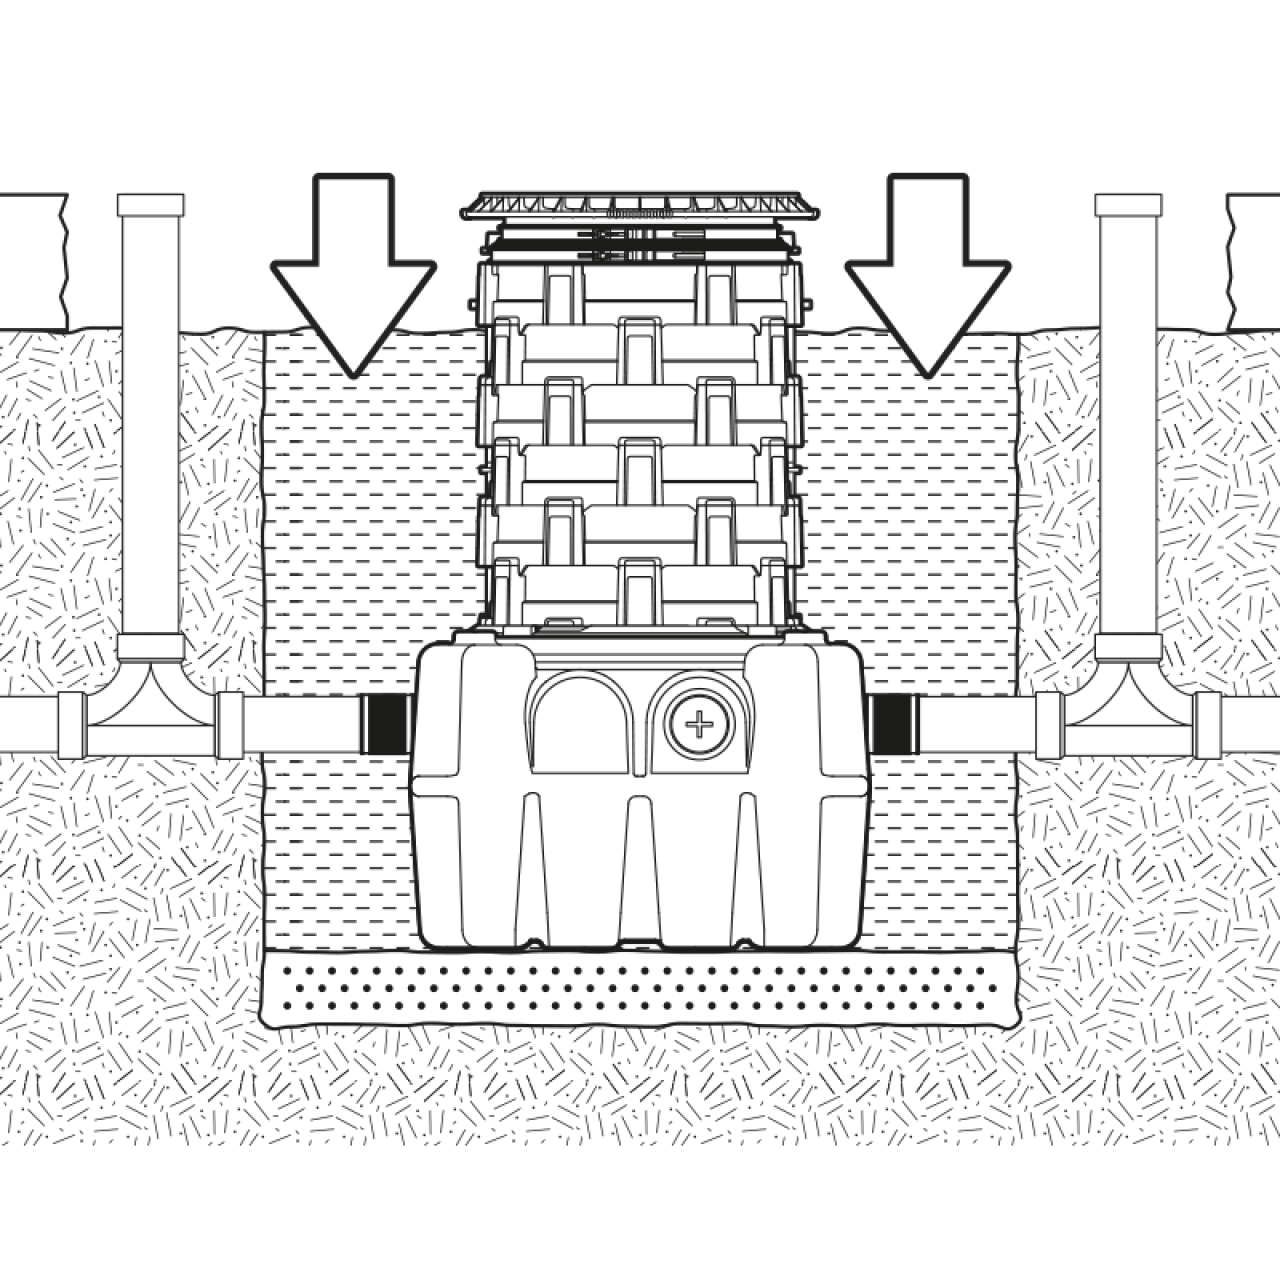
Add Backfill
The base layer and backfill must be clean, crushed stone approximately 1” in size (AASHTO M43 Size #57 or similar) free of debris and fines. Native soil and sand are not approved backfill materials.
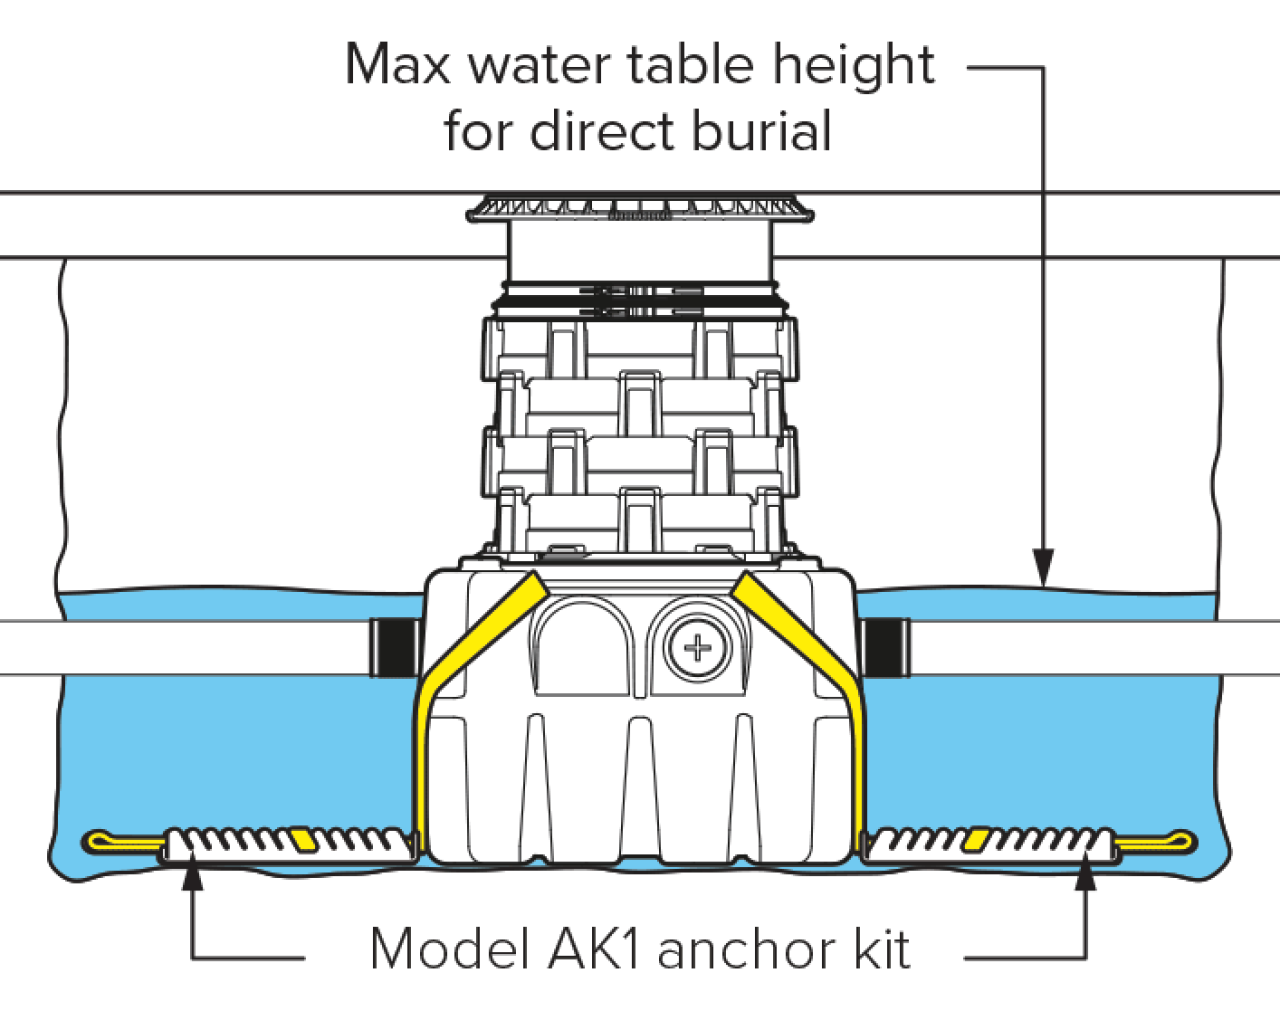
High Water Table
If the interceptor is at risk of being exposed to groundwater, an anti-flotation kit is required. If the interceptor is at risk of being exposed to groundwater levels reaching higher than the top of the tank body, it must either be encased in concrete or installed inside a watertight concrete vault for protection. Please contact Schier for the concrete encasement guidelines. The watertight concrete vault should be designed by a structural engineer.

Do not pressure test tanks
Do not air test the interceptor or riser system. Doing so may result in property damage, personal injury or death.
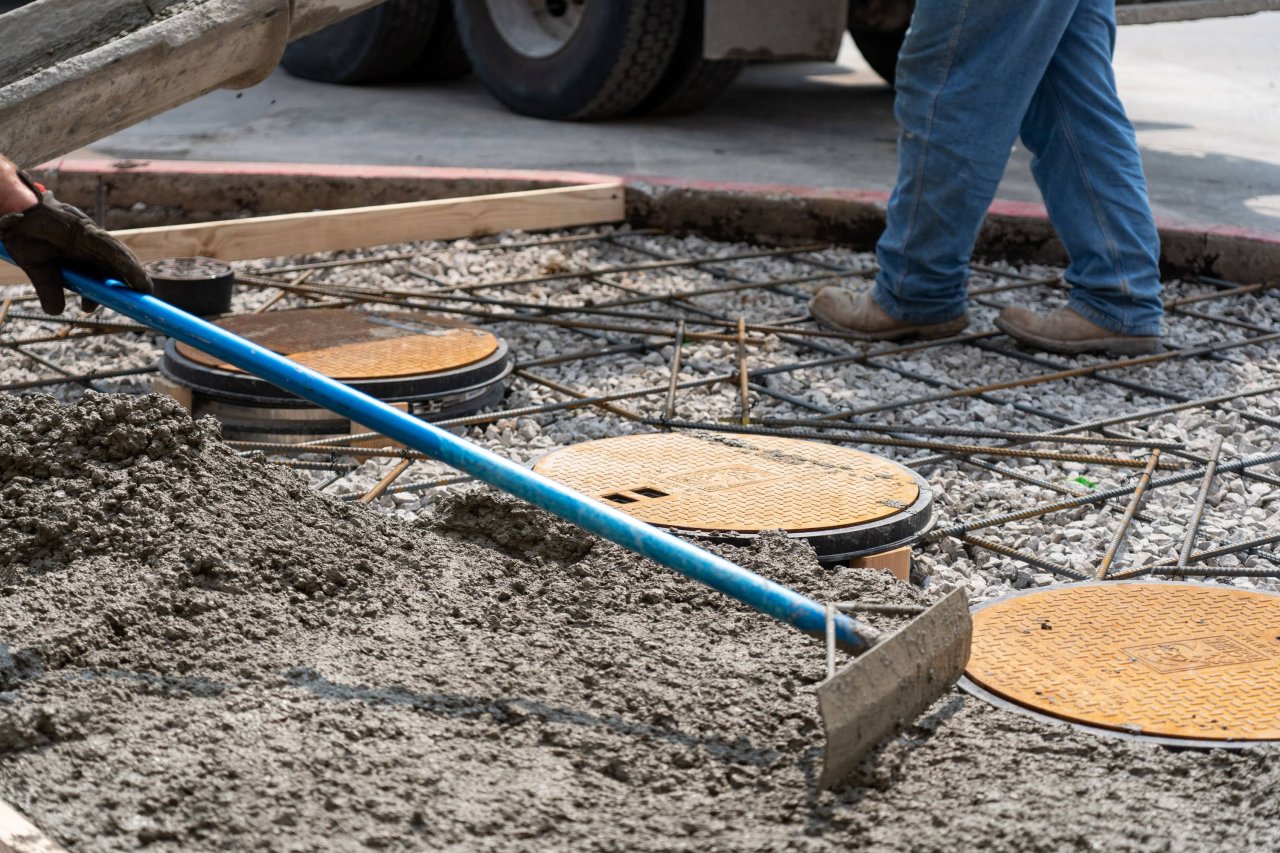
Pour concrete pad
Concrete pad to be reinforced with rebar and must have a minimum thickness of 4" for greenspace or pedestrian pavement, and 8" for traffic applications.
Pad dimensions must extend 18" beyond the silhouette of the interceptor
Concrete should have 28 day compressive strength of 4,000 PSI
Use No. 4 rebar (Ø ½") grade 60 steel per ASTM A615: connected with tie wire
Rebar to be 2-½" from the edge of the concrete and spaced in a 12" grid with 4" spacing around access openings.
Select the Right Cover for your project
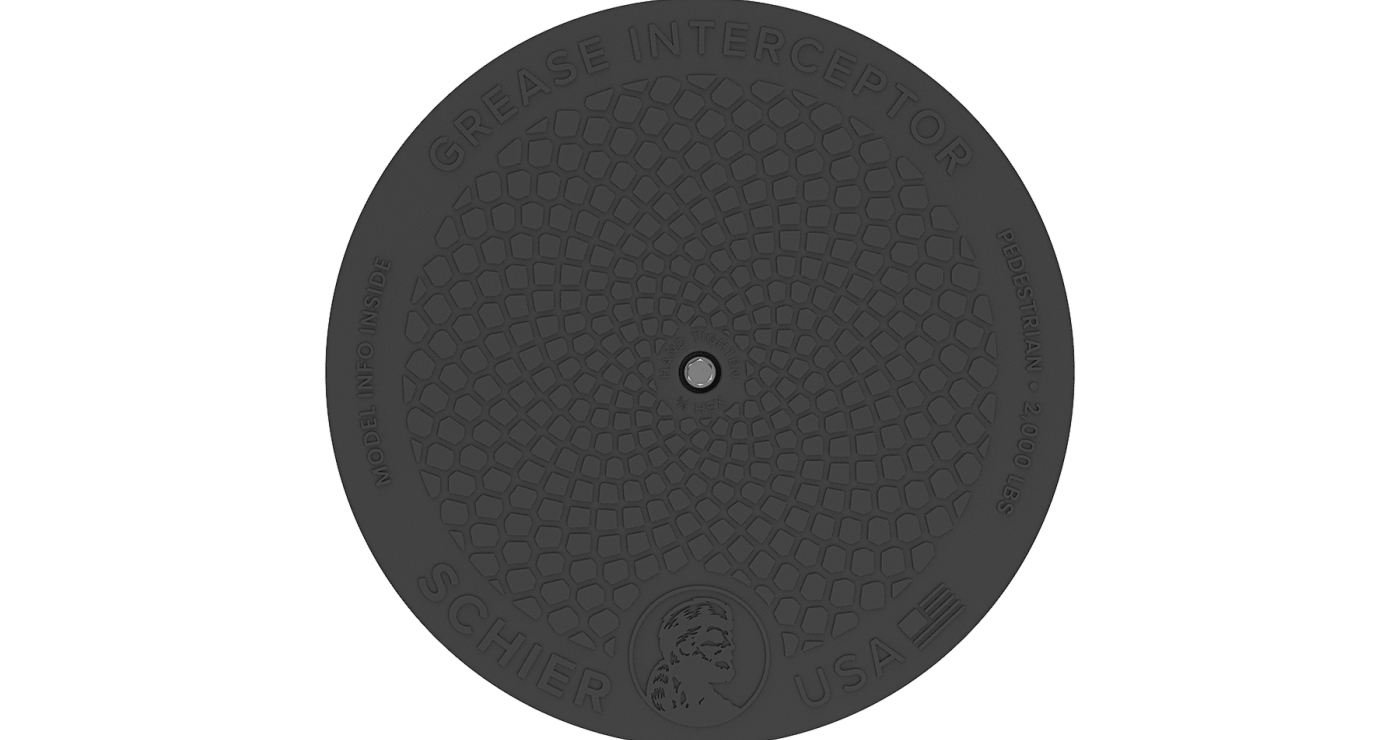
Pedestrian Rated Poly Cover
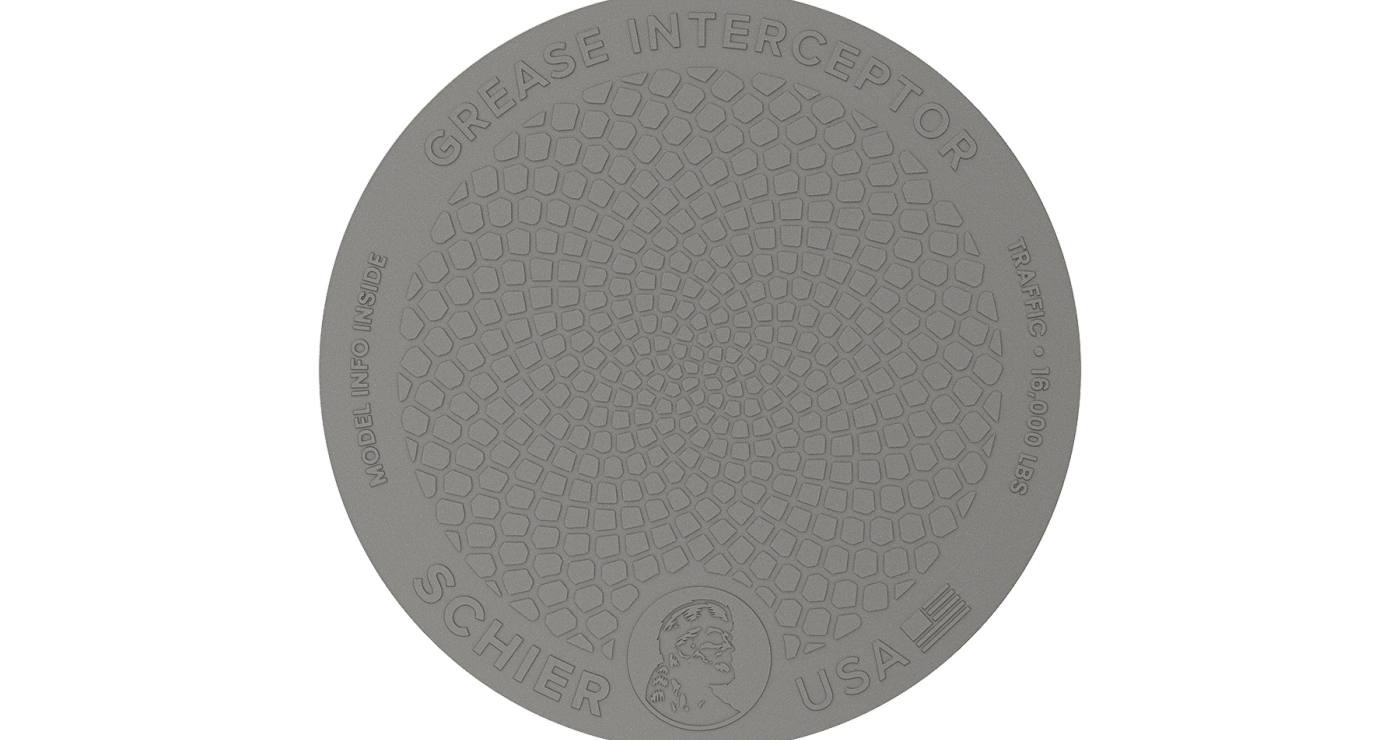
Traffic Rated Cast Iron Cover
Installation Guides
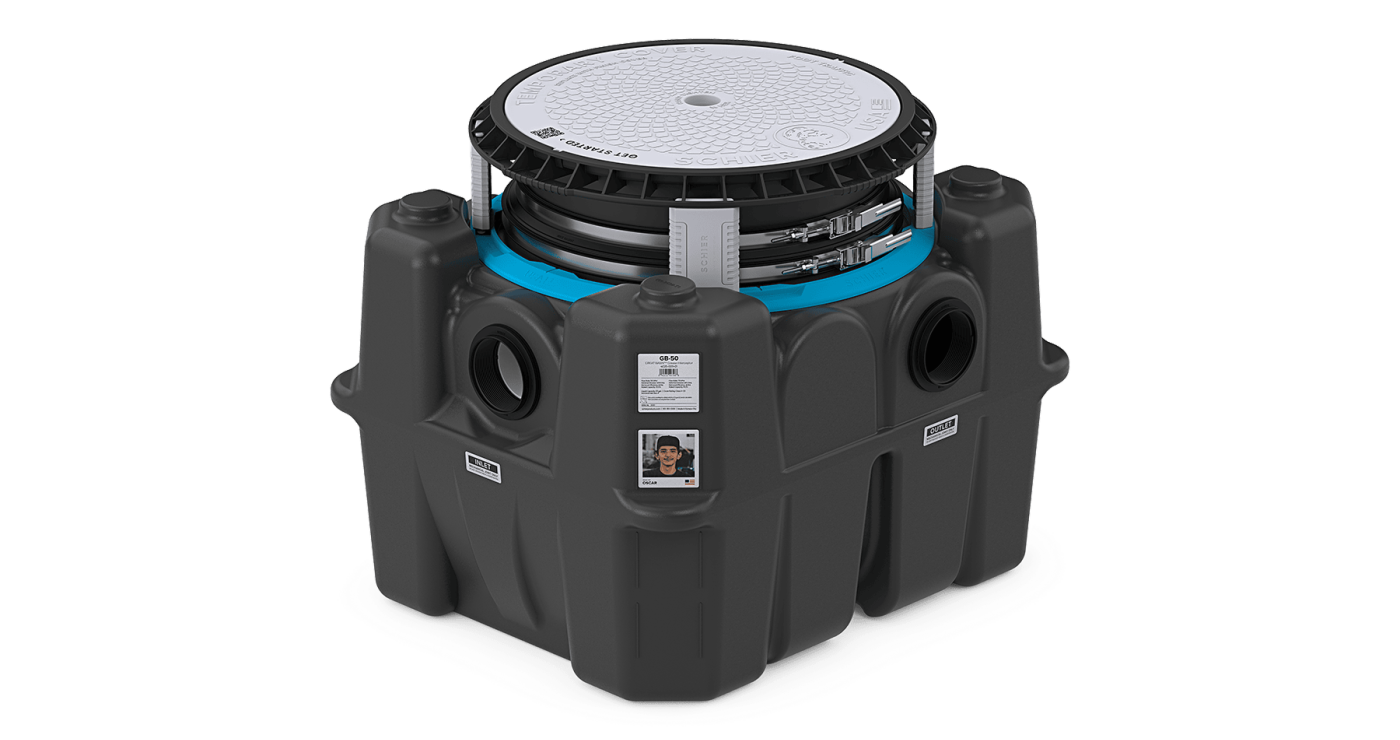
GB-50
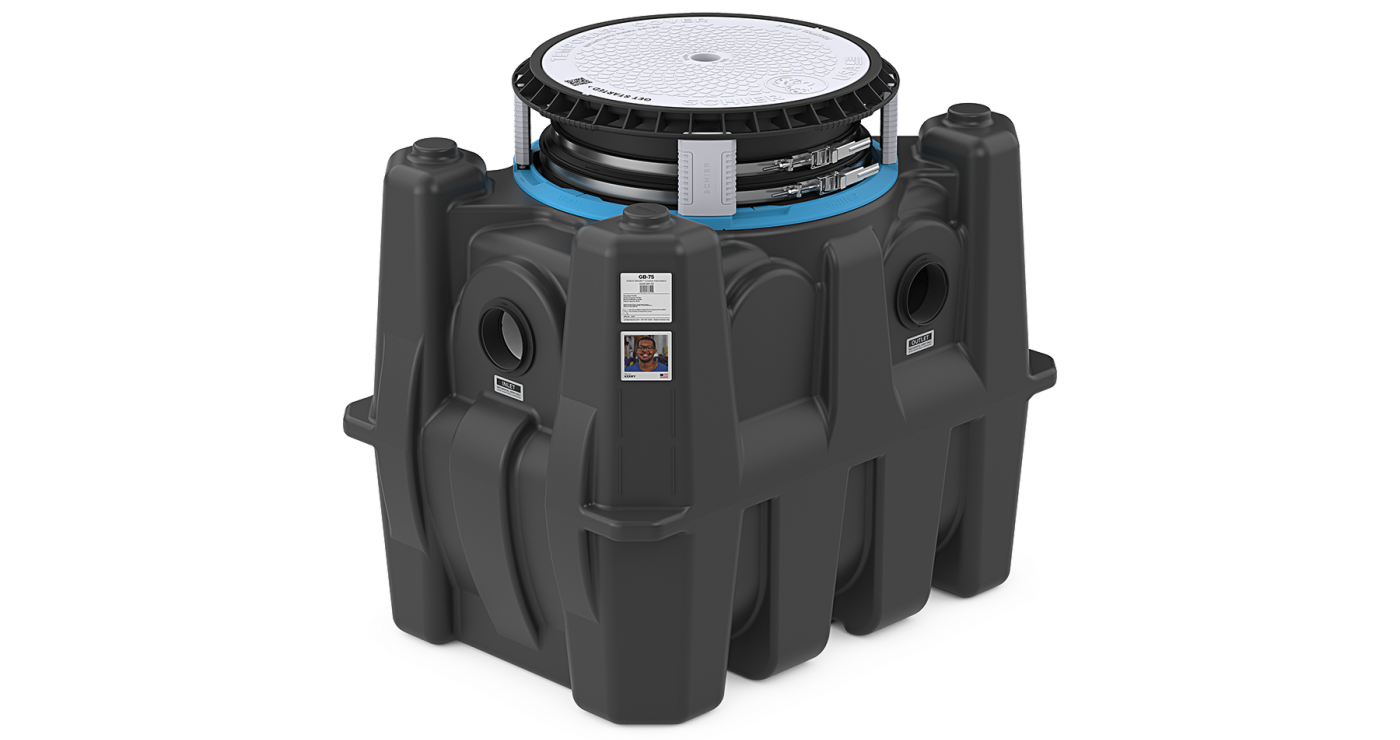
GB-75

GB-75-B
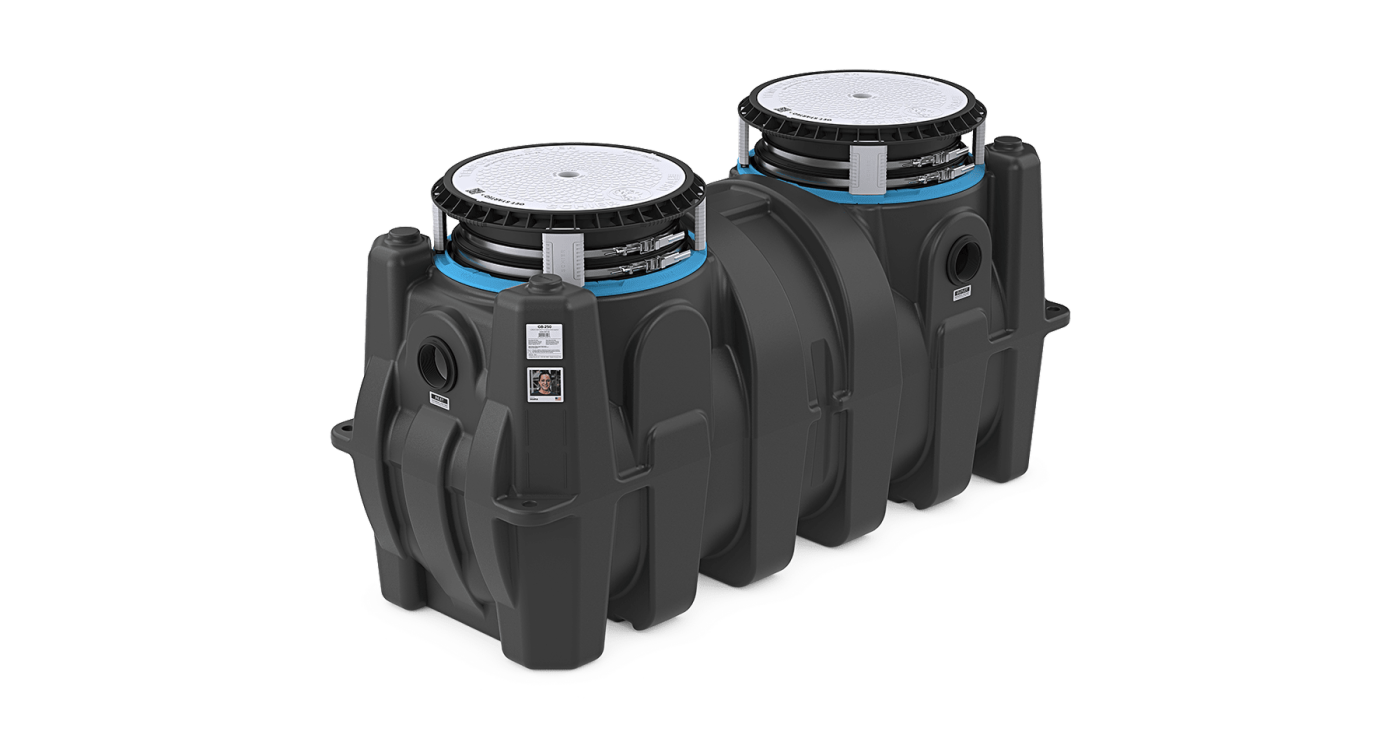
GB-250

GB-250-B

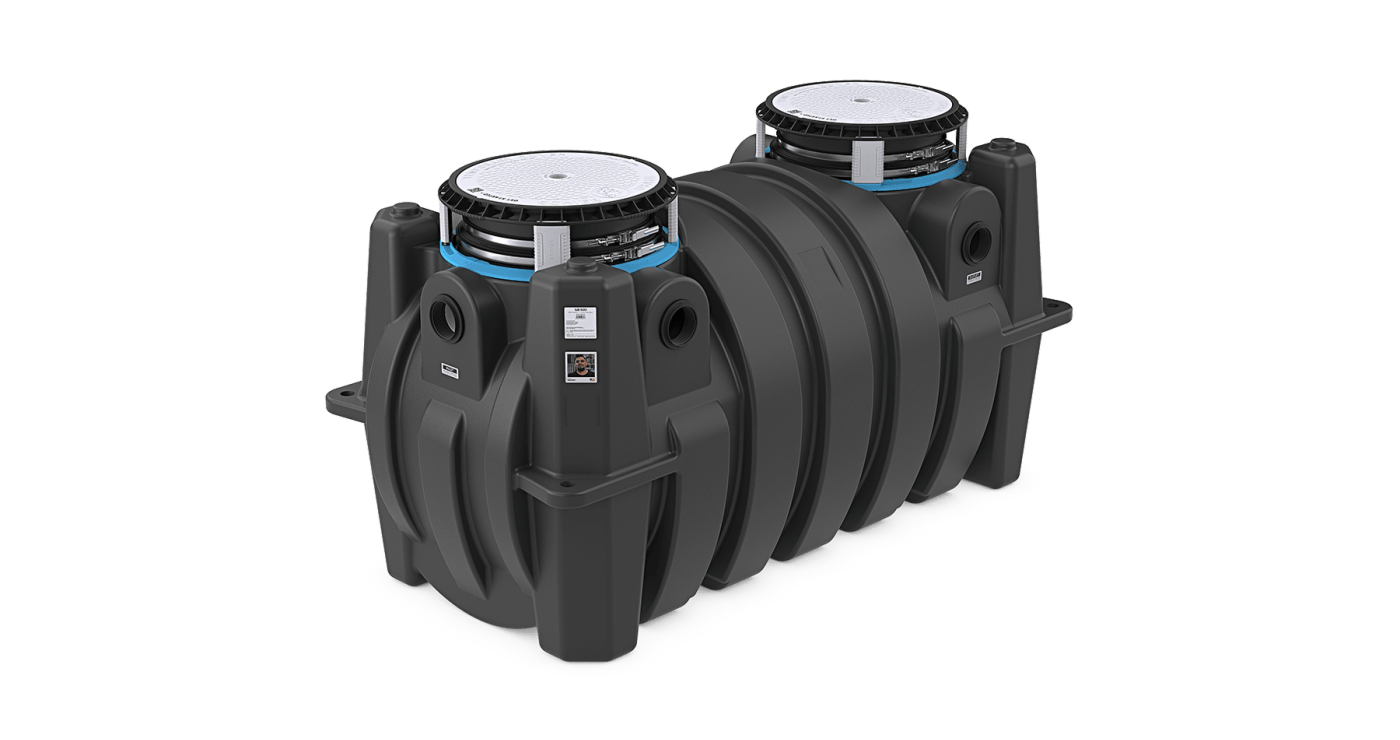
GB-500
GB-500-B
GB-1000

GB-1500

SI-50
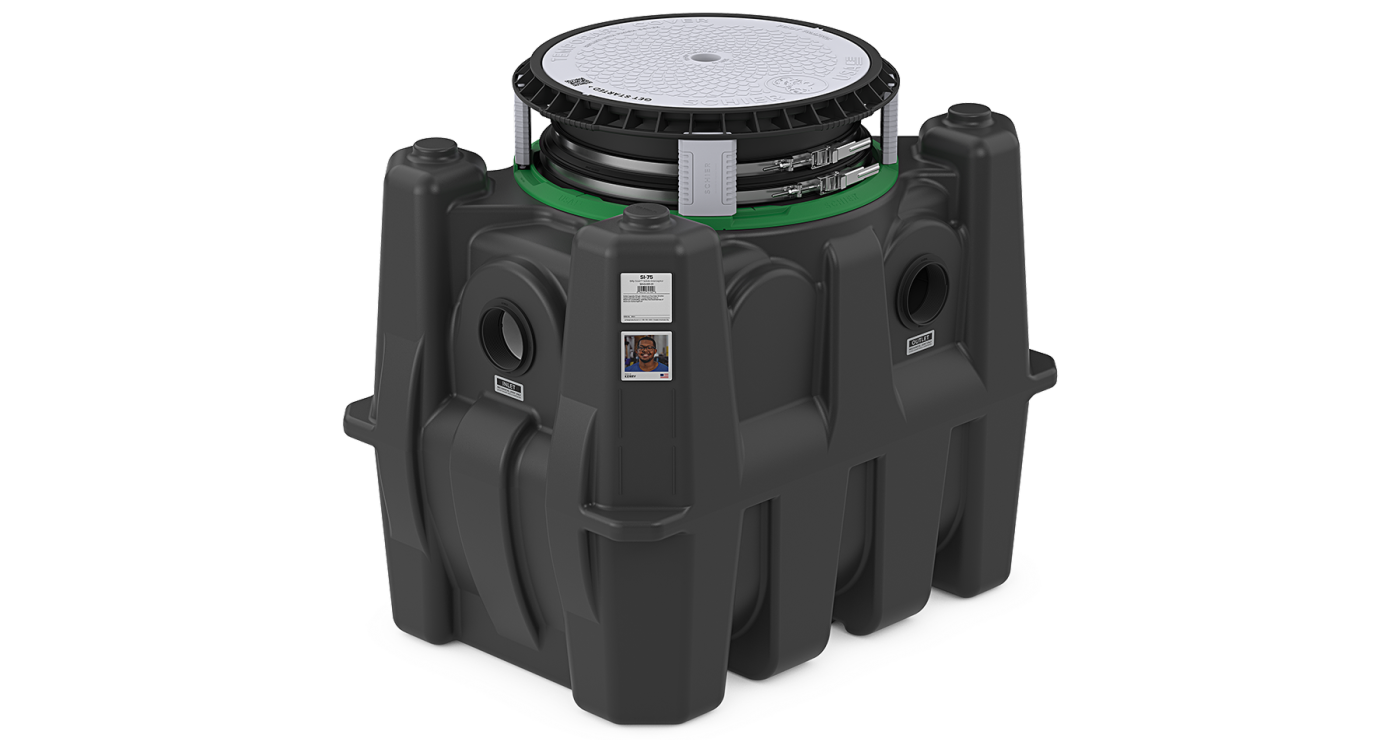
SI-75
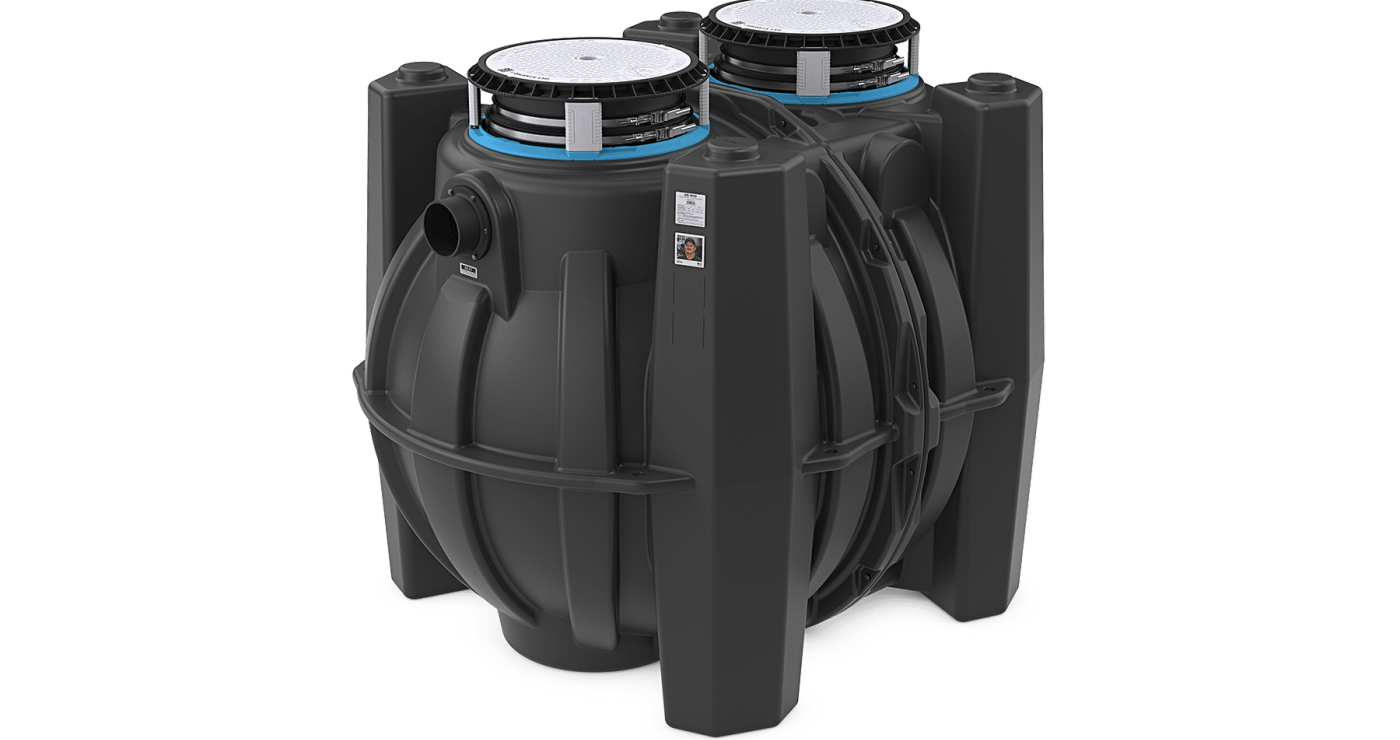
SI-250
SI-500
SV24
